Account
The Account manager allows you to view your current services, upgrade your website package, purchase additional services and manage your organization's contact information.
Who has access:
You must have one of the checked permissions to use this manager.
Guest
Member
Contributor
Editor
Administrator
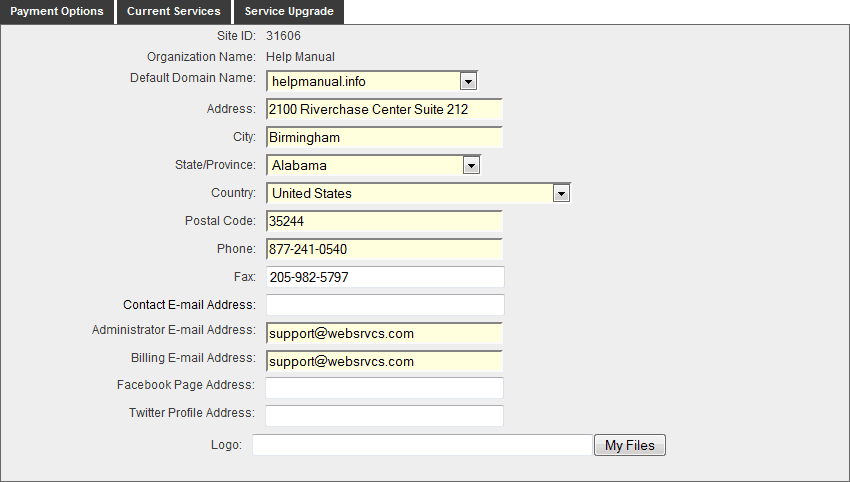
Most of these fields are already filled in based on the information you provided when ordering the Website. Please keep this information current. Fields that are highlighted in yellow are required.
- SITE ID: This is your site ID used to uniquely identify your organization.
- ORGANIZATION NAME: This is the name of your organization. This information is used for billing purposes. Please contact support if you need to change the organization name as it appears here.
- DEFAULT DOMAIN NAME: If you have multiple domain names associated with your site, this allows you to select the default domain name you prefer to use.
- ADDRESS: Make sure to input the street address (not a post office box) for your organization. This information is displayed on the Contact Page.
- CITY: The city where your organization is located.
- STATE/PROVINCE: The state or province where your organization is located.
- COUNTRY: The country where your organization is located.
- POSTAL CODE: The postal code where your organization is located.
- PHONE: The contact phone number for your organization. NOTE: Enter your 10-digit phone number without any spaces, hyphens, or symbols.
- FAX: The Fax number for your organization. NOTE: Enter your 10-digit Fax number without any spaces, hyphens, or symbols.
- CONTACT EMAIL ADDRESS: Your site has a Contact Us page where individuals can send email to the organization. Enter the email address here of the person who needs to receive those emails.
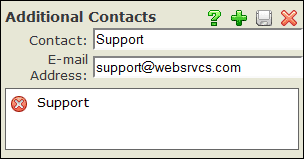
 ADDITIONAL CONTACTS: You can add an additional contact email addresses to your Contact Us page by clicking the "Contact Email Address" link.
- Contact: Type the contact's name. This will appear on the Contact page.
- Email Address: Type in the contact's email address.
- Click the Save
 icon in the upper right-hand corner of the Additional Contacts window.
- To delete an additional contact, click the Delete
 icon to the left of the contact's name.
- ADMINISTRATOR EMAIL ADDRESS: Enter the email address of the site administrator here. This address is used to send important, helpful information to all administrators. It does not appear on your site.
- BILLING EMAIL ADDRESS: Enter the address of the person responsible for receiving and paying bills. This information does not appear on your site.
- FACEBOOK PAGE ADDRESS: Enter the address for your Facebook page to add a Facebook icon and link to the tools panel on your site.
- TWITTER PROFILE ADDRESS: Enter the address for your Twitter account to add a Twitter icon and link to the tools panel on your site.
- LOGO: Upload/select an organization logo for display on your Content Portal page and E-zekiel.tv channel.
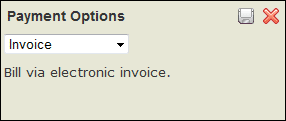
 Click the Payment Options tab to update your current method of payment for your site.
- Select the method of payment from the drop down menu.
- Click the Save
 icon in the upper right corner of the dialog box.
- Click the Exit
 icon in the upper right corner of your screen to close the Payment Options window.
- Click the Current Services tab to view a listing of your current website package, included and additional options, quantity, cost, last bill date, next bill date and purchase date.
- Click the Exit
 icon in the upper right corner of your screen to close the Current Services window.
The Service Upgrade tab allows you to upgrade your current website package or purchase additional options that are available to your current level of service.
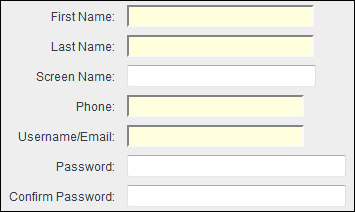
 Click the Admin Profile tab to update your Website Administrator profile information. This information includes First Name, Last Name, Screen Name, Phone Number, Username/Email and Password.
- Update each field accordingly and then click the Save
 icon in the upper right corner of the screen to save your changes.
- First Name, Last Name, Phone and Username/Email are required fields.
- SCREEN NAME: If you upload media to the Media manager, your screen name is displayed with the piece of media to indicate who uploaded it to the site. The screen name will also appear on E-zekiel.tv if you have chosen to share the file on E-zekiel.tv.
Note: The Admin Profile tab will only appear if you do
not have the
People manager.

 ADDITIONAL CONTACTS: You can add an additional contact email addresses to your Contact Us page by clicking the "Contact Email Address" link.
 Click the Payment Options tab to update your current method of payment for your site.
 Click the Admin Profile tab to update your Website Administrator profile information. This information includes First Name, Last Name, Screen Name, Phone Number, Username/Email and Password.